Getting started with Ardone 2, Ubuntu, VirtualBox and ROS (Part 3)
18 Jan 2017Getting started with Ardone 2, Ubuntu, VirtualBox and ROS (Part 3)
It is recommended you go over Part 1 and Part 2 of this article
Finally flying the AR.Drone 2 :)
So once all of that ^^ and previous blog post is installed, we run ROS and launch the keyboard controller app, which will allow us to control the drone (very clumsily).
I recommend flying outside (IF THERE IS NO WIND) and to have the shield guard attached to your drones so not to damage it (or anyone else) when you will crash it (and there will be crashes!)
First off you need to connect your wifi to the drones network (it will be called something like ardrone 2xxx) once the drone is powered up.

Connect to it and fire up your Ubuntu virtual machine
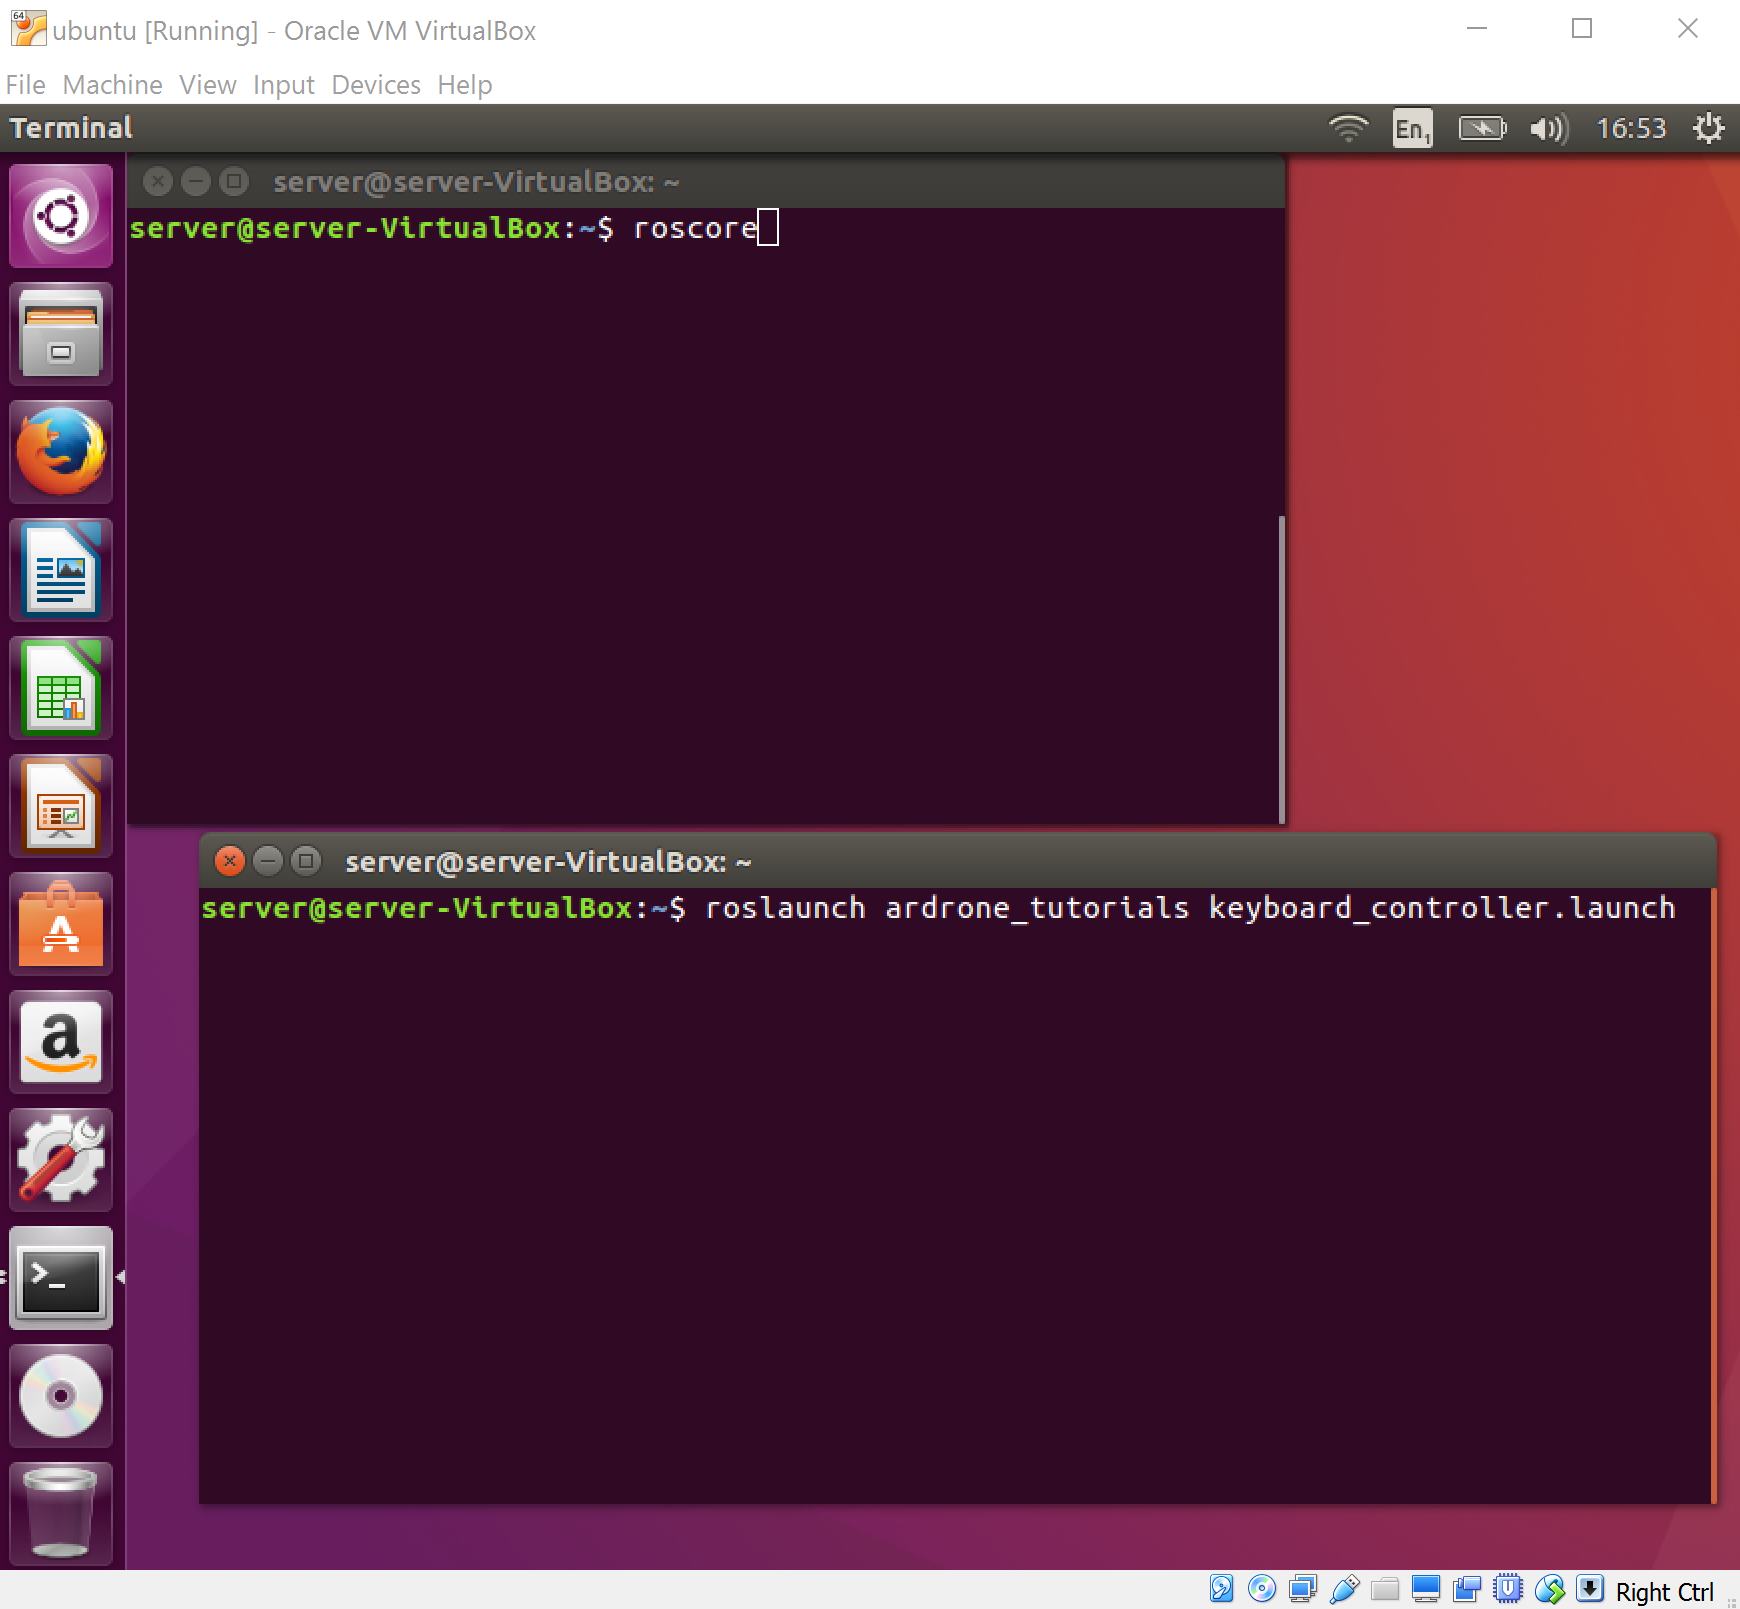
Open two Terminal windows side by side,

And run these commands like so, in Terminal window #1:
roscore
In Terminal #2 type
roslaunch ardrone_tutorials keyboard_controller.launch
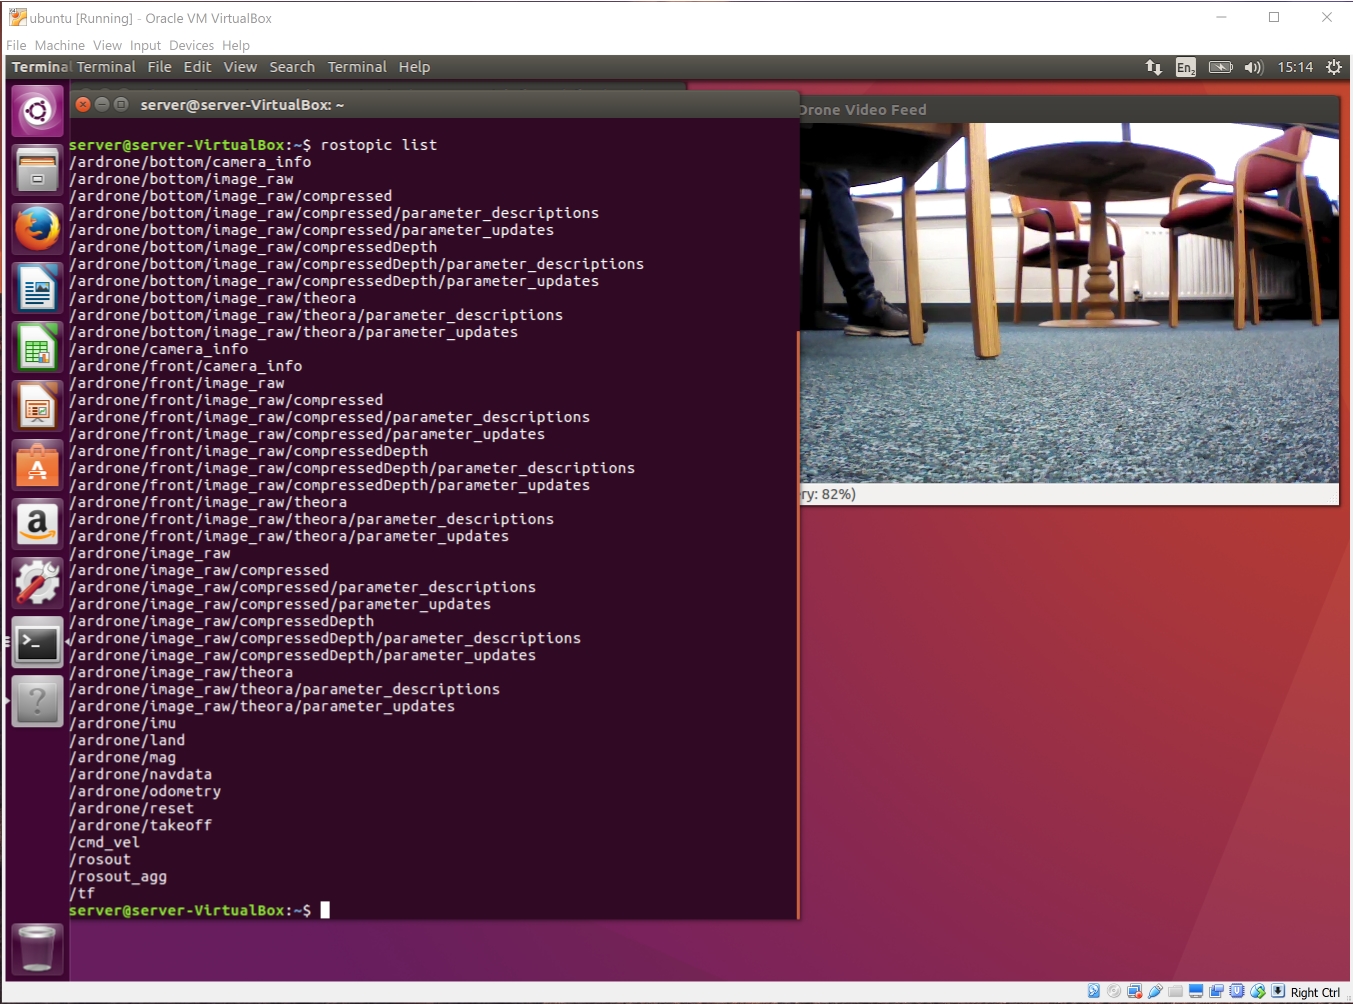
Ok so now a little video window will popup showing the videostream from the front camera of the drone, like so

Great you can now fly the drone using the keyboard :) the commands are as follows
E – Pitch Forward
D – Pitch Backward
S – Roll Left
F – Roll Right
W – Yaw Left
R – Yaw Right
Q – Increase Altitude
A – Decrease Altitude
Y – Takeoff
H – Land
SPACEBAR – EMERGENCY STOP
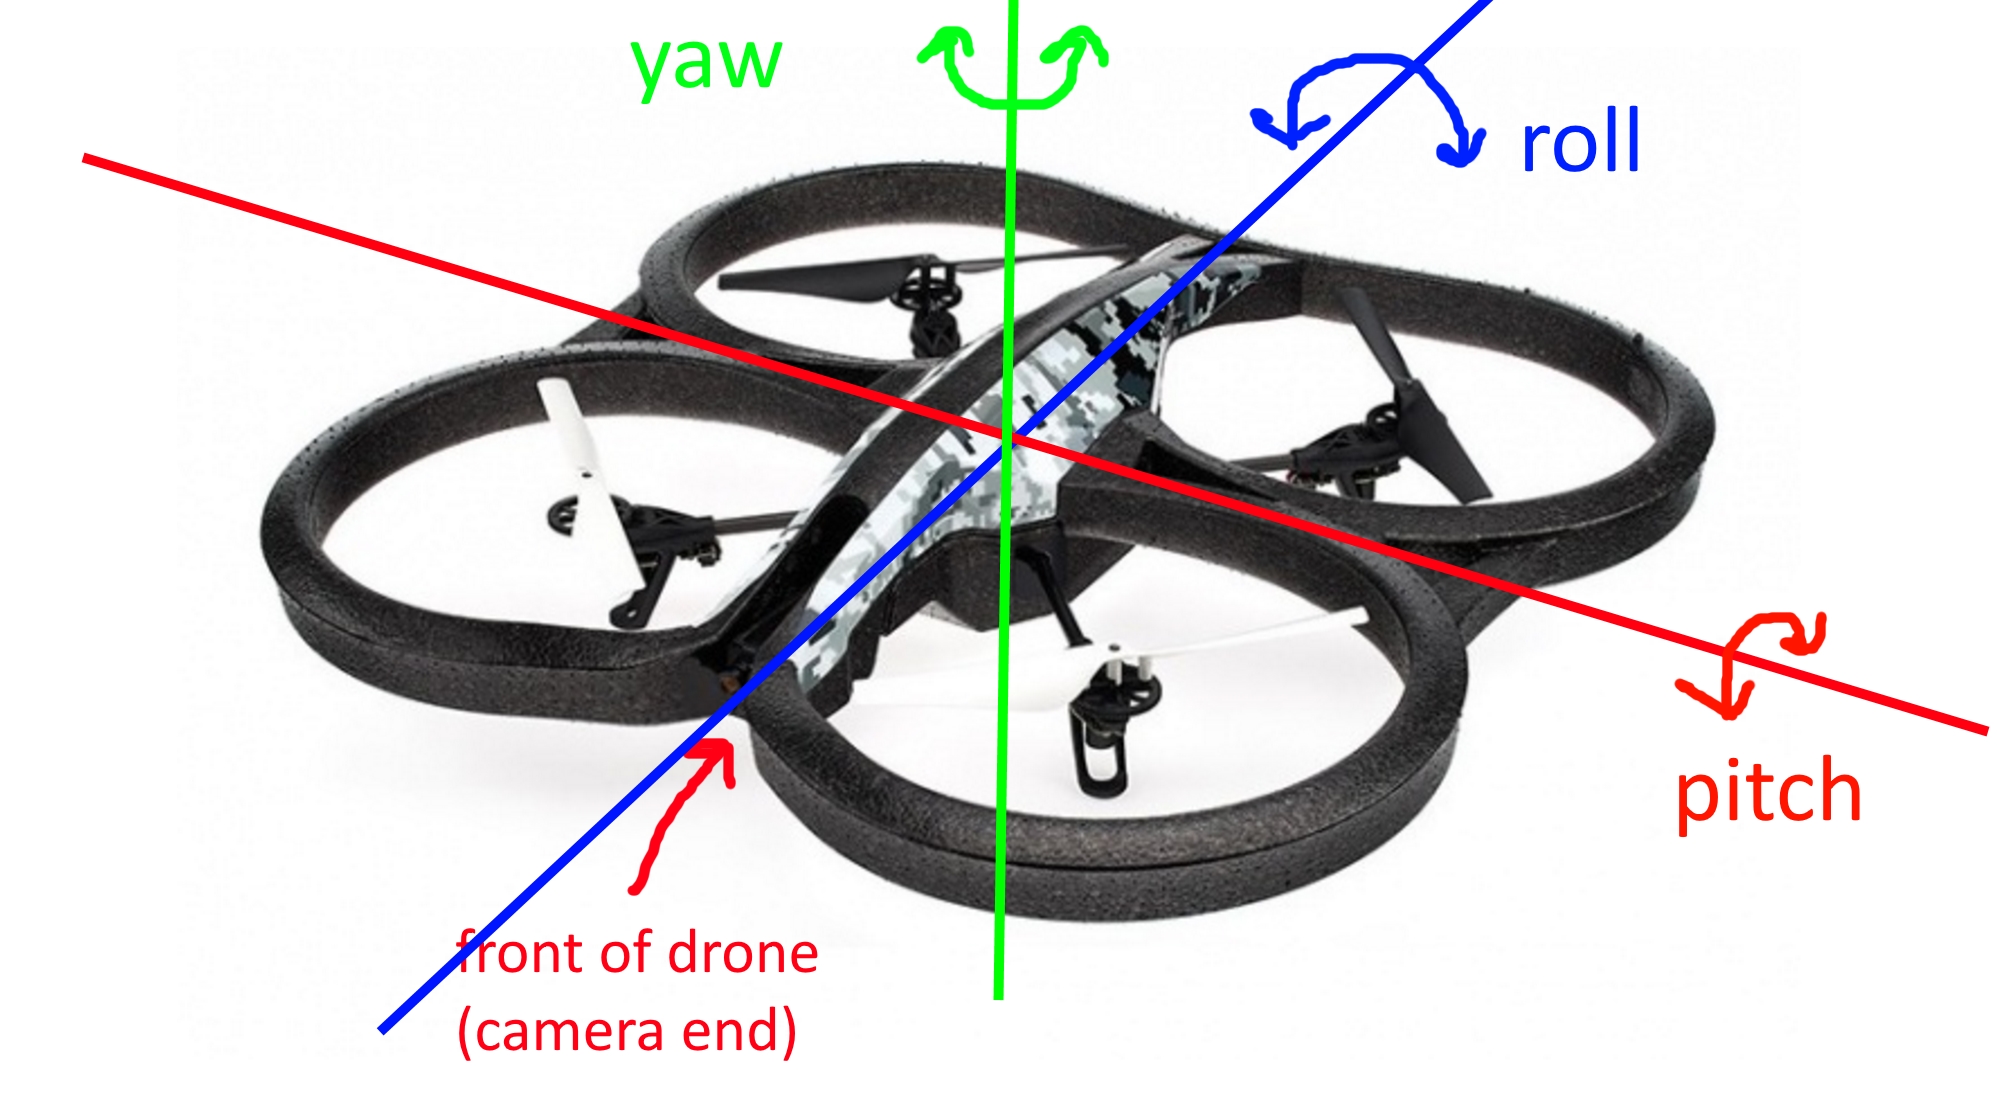
Some flying concepts are:
- Pitch is an up or down movement of the front of the quadcopter. This will determine if the quadcopter will be going in a forward or backward direction.
- Roll is the up and down movement of the sides of the quadcopter. This will determine if the drone will be moving in a left or right direction.
- Yaw will rotate the craft on its vertical axis. This will enable you to turn the craft to face a different direction.

You can also explore the ROS topics with command
rostopic list

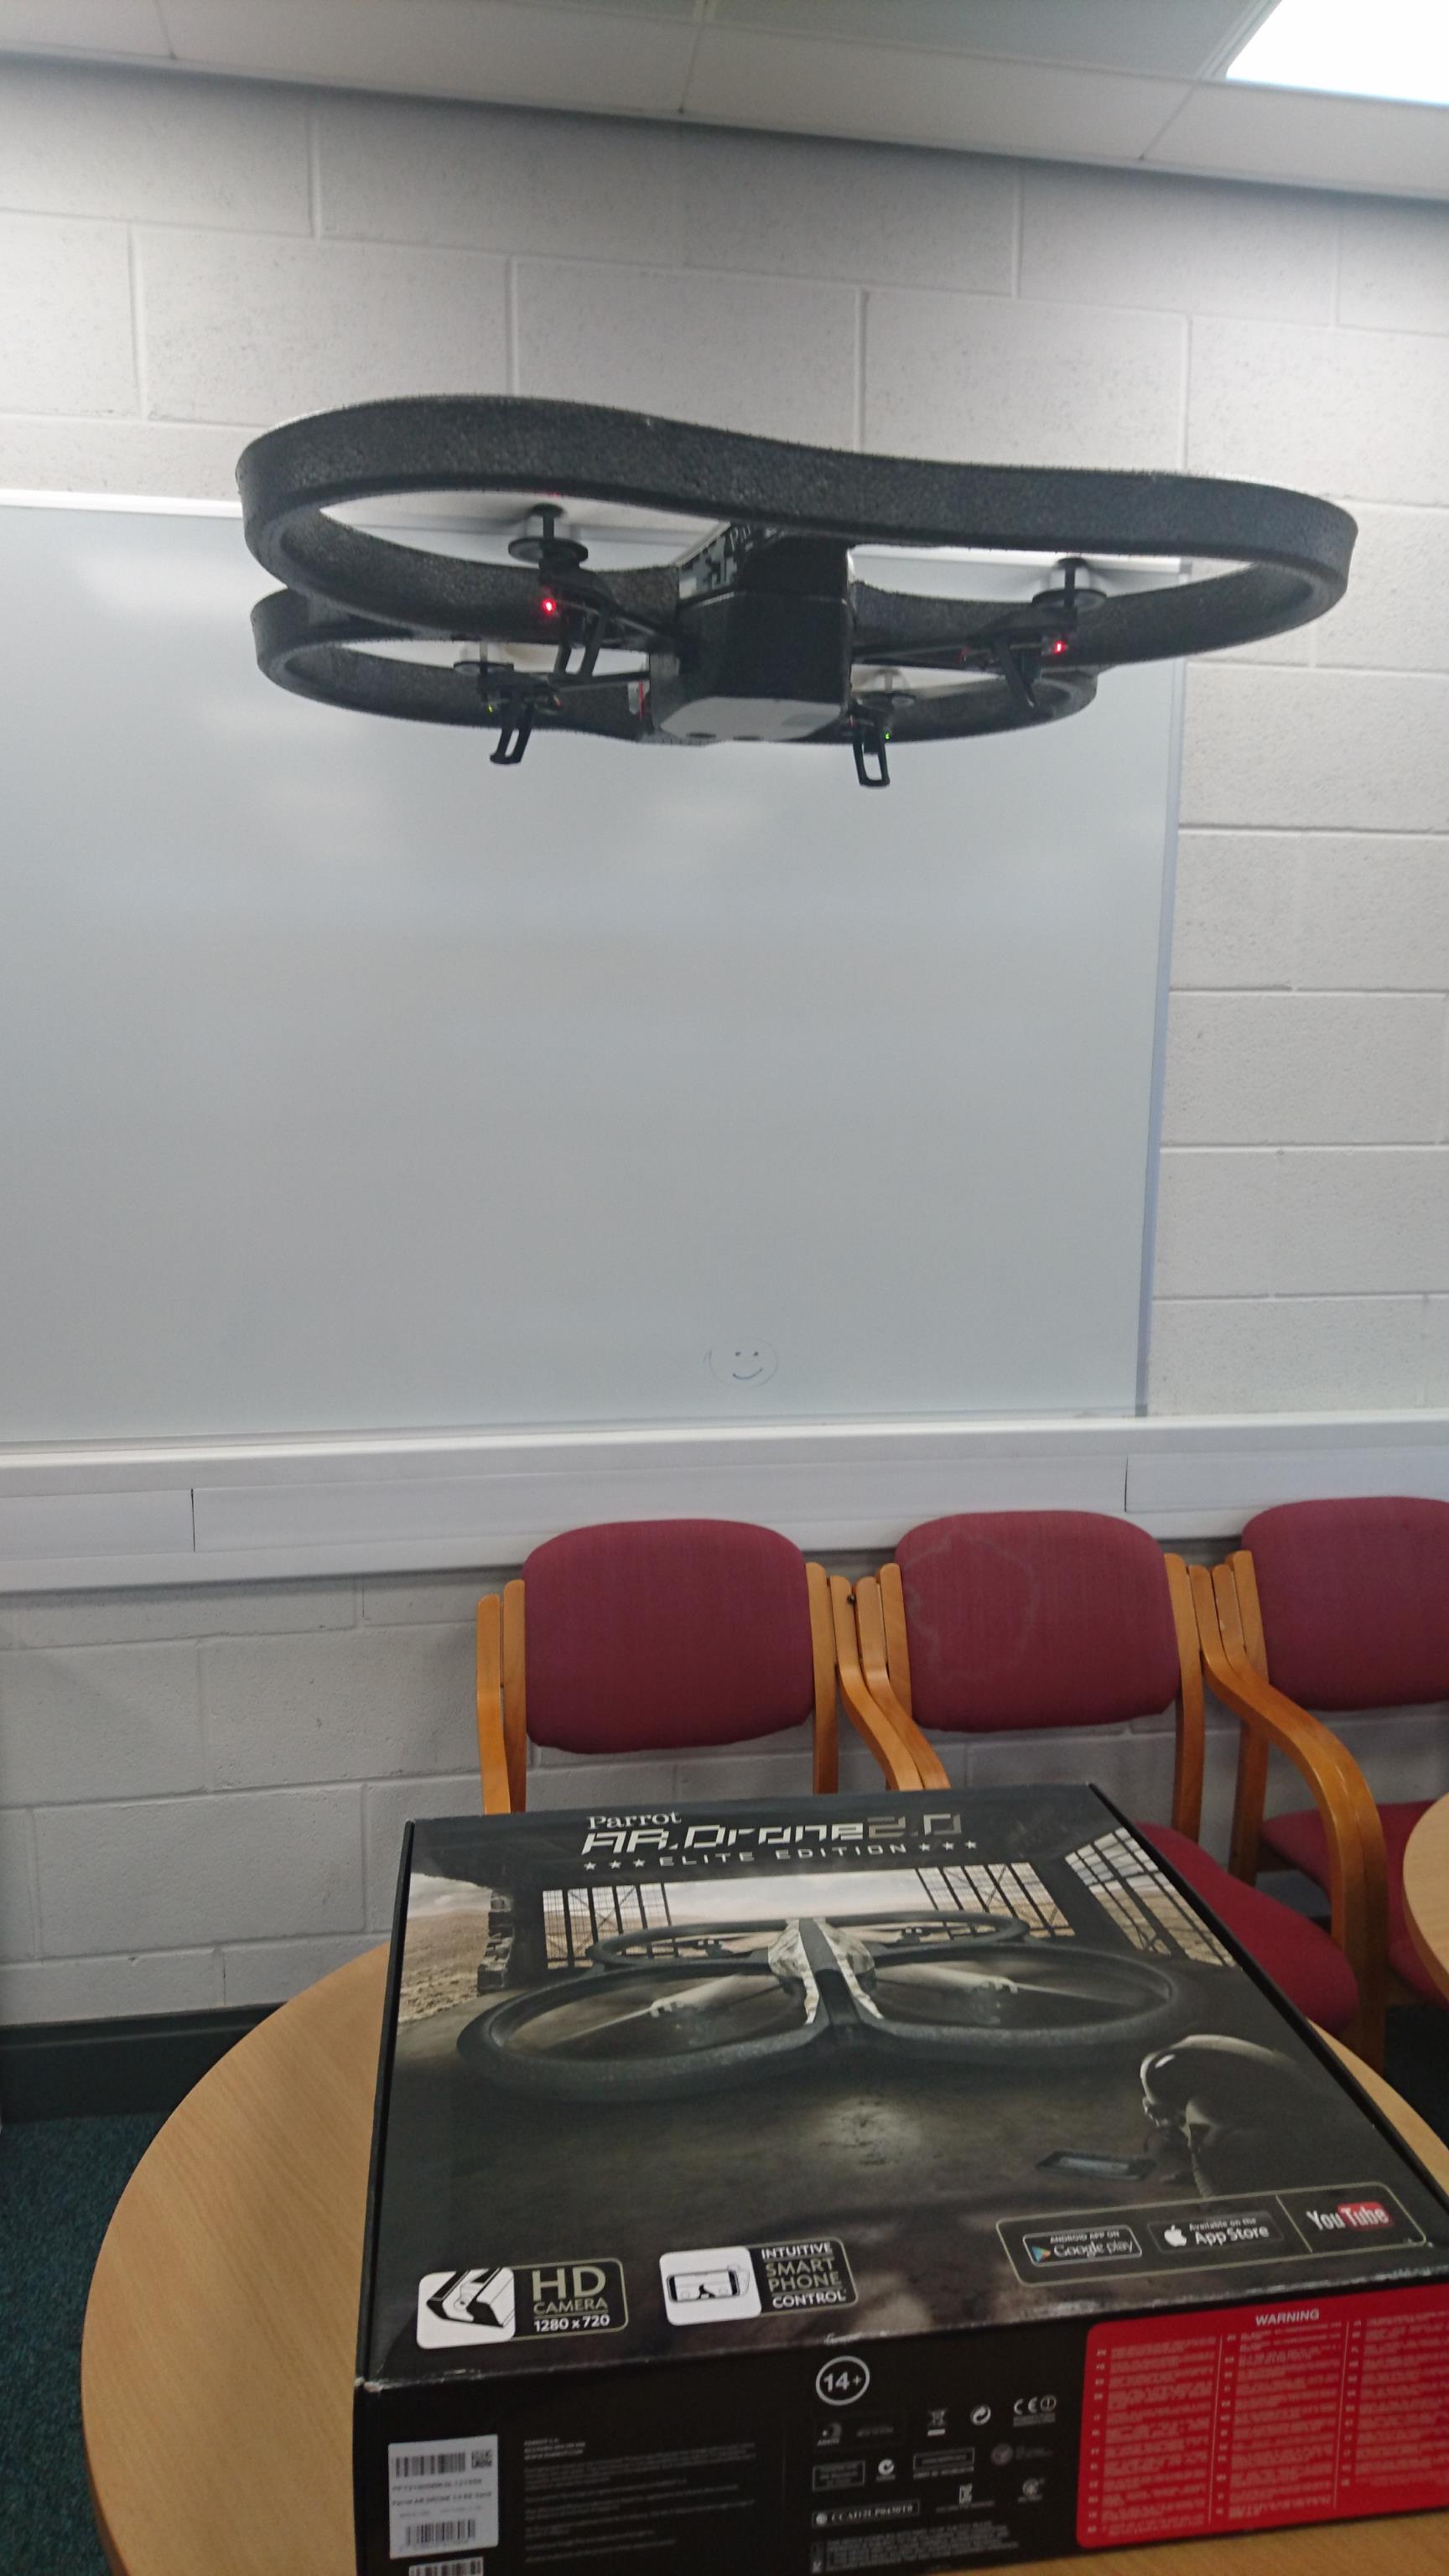
Oh here is a photo of the drone flying in lab :)

More drone articles to come in future