Getting started with Ardone 2, Ubuntu, VirtualBox and ROS (Part 1)
16 Jan 2017Abstract
The purpose of this post is to document how I got working my ardrone2 quadcopter with Ubuntu running on VirtualBox and connected to the Ardrone2. Hopefully this blog post comes useful to others who are experimenting with the AR.Drone 2.
There is a great tutorial at RoboHub unfortunately it is now 5 years old, and does not work, with a lot of the software mentioned having been updated since or is now obsolete.
Prerequisites
- Parrot AR.DRONE 2.0 Elite Edition available from amazon.com for $249
- Oracle VirtualBox [Free]
- Also download an image of Ubuntu Linux 16.04.1 [Free]
Setting up Ubuntu image in VirtualBox
So once you have VirtualBox installed (a restart might be required) fire it up. VirtualBox is a free virtualization software which will allow you to run Linux (which is required by ROS).
- Click on “New”
- give your virtual machine a name such as “Ubuntu”
- 1GB of RAM should be enough
- Select a dynamically allocated disk of 25GB to give yourself room
- Once created rightclick on the virtual machine and select settings
- Goto: Storage > Controller, IDE > ‘Choose Virtual Disk’ and select the Ubuntu .ISO you downloaded
- Make sure to have two network adapters via Settings > Network options, one a NAT and another a Bridged connection So once all configured, fire up your virtual machine which will go into Ubuntu setup screen
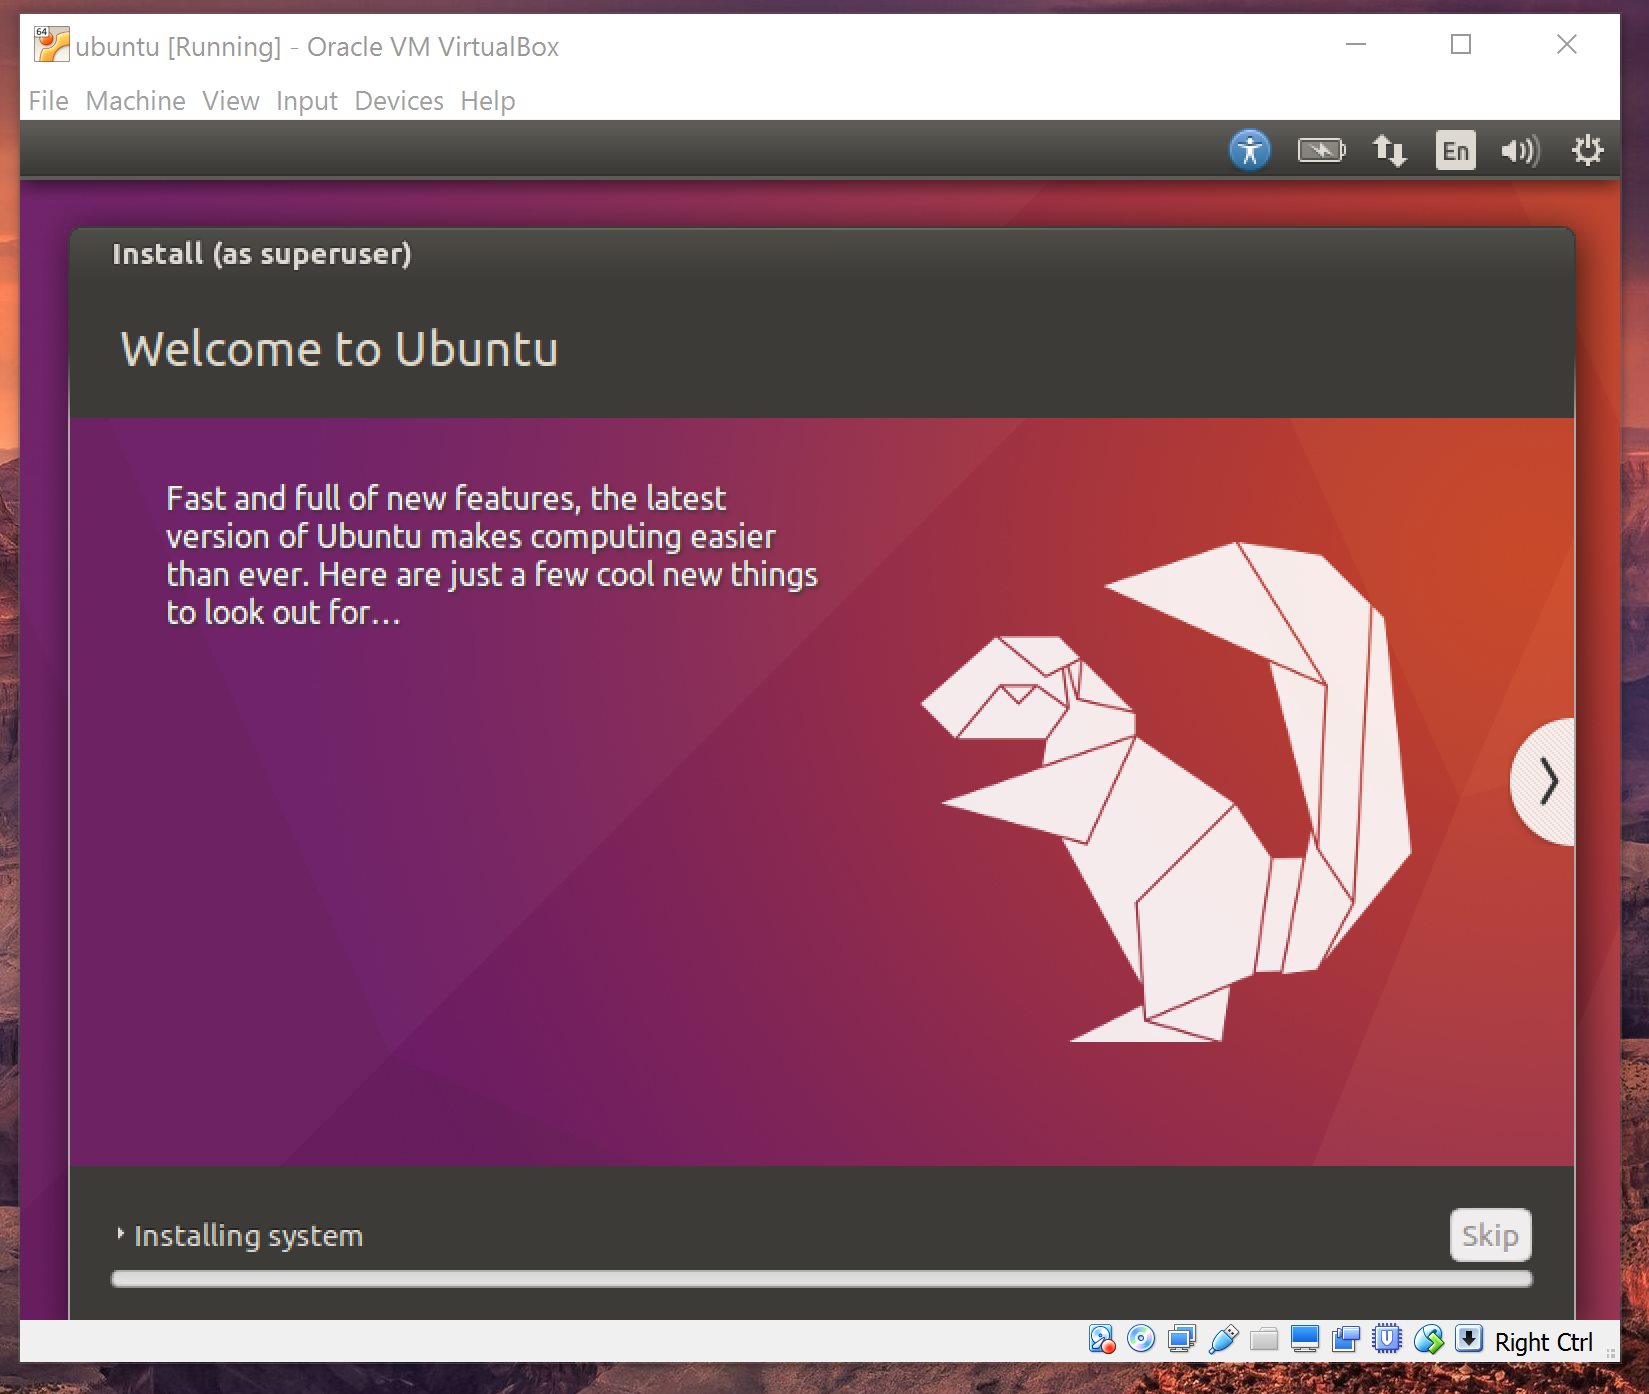
Install Ubuntu
I am not going thru all the Ubuntu options, the stock options should be fine, I recommend you create a user called server during setup and write down your root password! you wouldnt want to forget this…

So once its installed and you have rebooted, fire up the Terminal (aka console)

Then in Virtualbox menu click on “Devices” > “Insert guest addition CD” we want to install virtualbox tools on this guest machine, so features such as bidirectional clipboard sharing work.
And reboot this guest virtual machine…
Installing (piles of software)
So in your open black background terminal window type the following to setup ros sources:
sudo sh -c 'echo "deb http://packages.ros.org/ros/ubuntu $(lsb_release -sc) main" > /etc/apt/sources.list.d/ros-latest.list'
sudo apt-key adv --keyserver hkp://ha.pool.sks-keyservers.net:80 --recv-key 421C365BD9FF1F717815A3895523BAEEB01FA116
Then update everything:
sudo apt-get update
Then lets install all the dependancies for ROS and ROS itself:
sudo apt-get install ros-kinetic-desktop-full
Right once the above eventually installs everything it needs, continue onto part2 of this long article